Choosing the right kitchen faucet involves understanding hole sizes and configurations. Whether upgrading or replacing, knowing these details ensures a smooth installation. It’s essential to match the faucet type to your sink’s existing holes for a perfect fit.
The right faucet for your sink depends on several factors. You need to consider the number of holes, their spacing, and the size of the faucet. Misjudging these details can lead to installation issues and a less functional setup. By accurately measuring and adapting to your current configuration, you can avoid common pitfalls.
With the right approach, your kitchen will have a faucet that not only fits perfectly but also enhances its functionality and style. So, let me guide you all these things in detail!
Table of Contents
Standard Kitchen Faucet Hole Sizes
First things first, let’s talk numbers. The standard hole size for most kitchen faucets is 1 3/8 inches (about 35 mm) in diameter. This size accommodates a wide variety of faucets, from single-handle to double-handle designs.
However, other considerations and variations are depending on your faucet type and kitchen sink design.
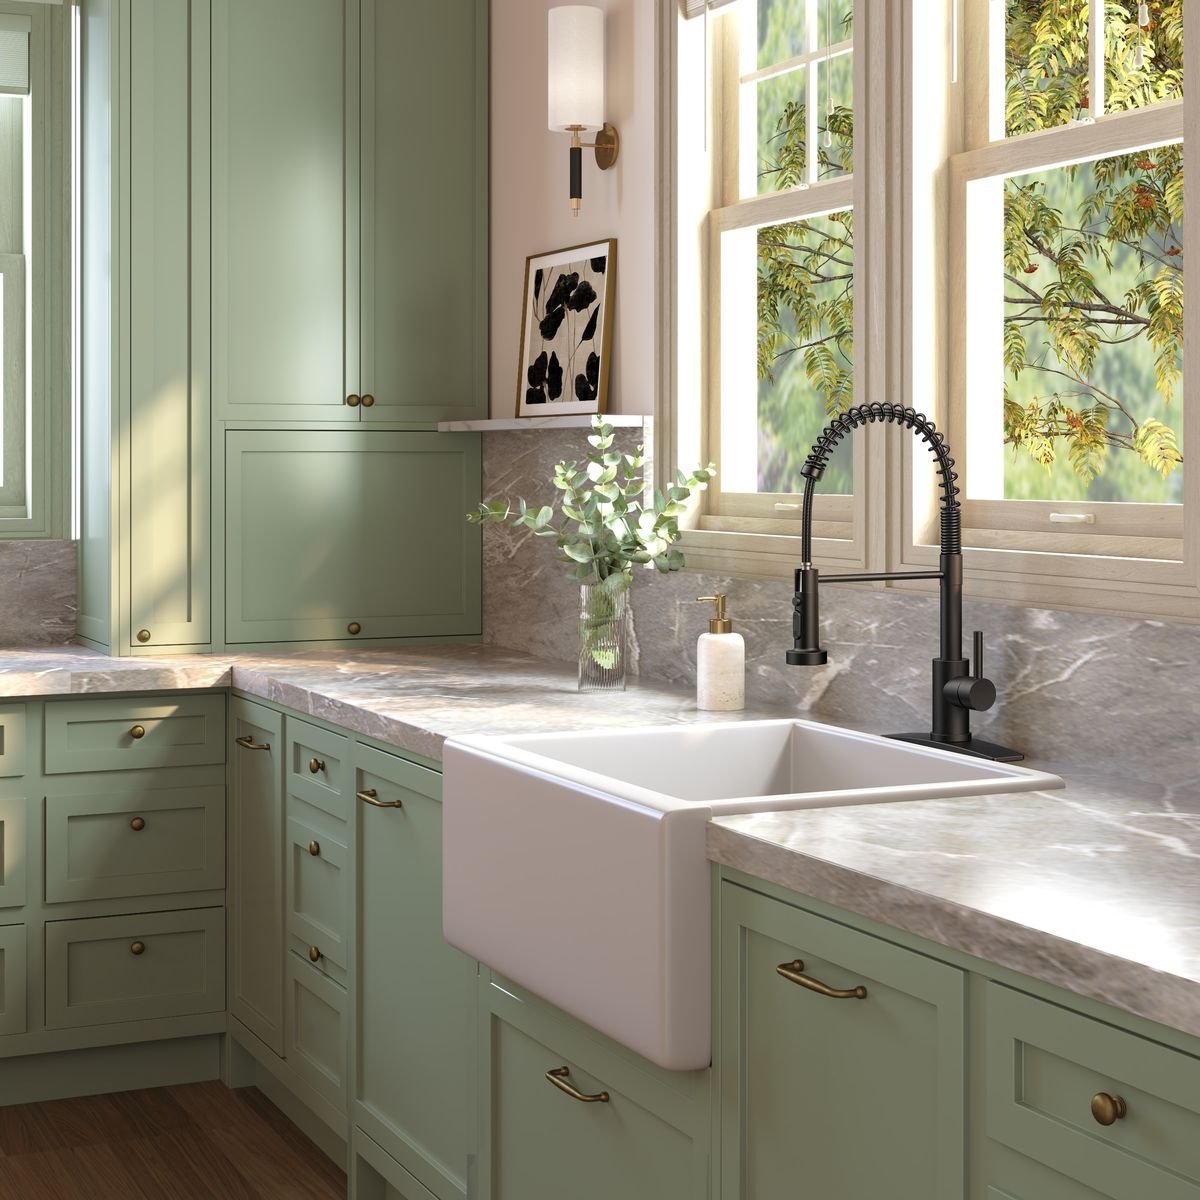
Single-Hole Faucets
Single-hole faucets are the most straightforward. They require—you guessed it—just one hole. These faucets are popular because they offer a sleek, modern look and are typically easier to install.
The standard size for these holes is usually the same 1 3/8 inches. But it’s always a good idea to check the manufacturer’s specifications just to be sure.
Multi-Hole Faucets
Multi-hole faucets can get a bit more complex. These are often the traditional style faucets that have separate handles for hot and cold water, and sometimes an additional sprayer or soap dispenser. The typical configurations are:
- Two-Hole Faucets: Usually for the faucet and a separate sprayer.
- Three-Hole Faucets: Often for a faucet with two handles.
- Four-Hole Faucets: For a faucet, two handles, and an accessory like a sprayer or soap dispenser.
Each of these holes generally needs to be 1 3/8 inches in diameter, but spacing between the holes can vary. The standard distance between the centers of the outermost holes is typically 8 inches, known as an 8-inch spread.
However, there are also 4-inch spread models, commonly found in smaller sinks or bathrooms.
Bridge Faucets
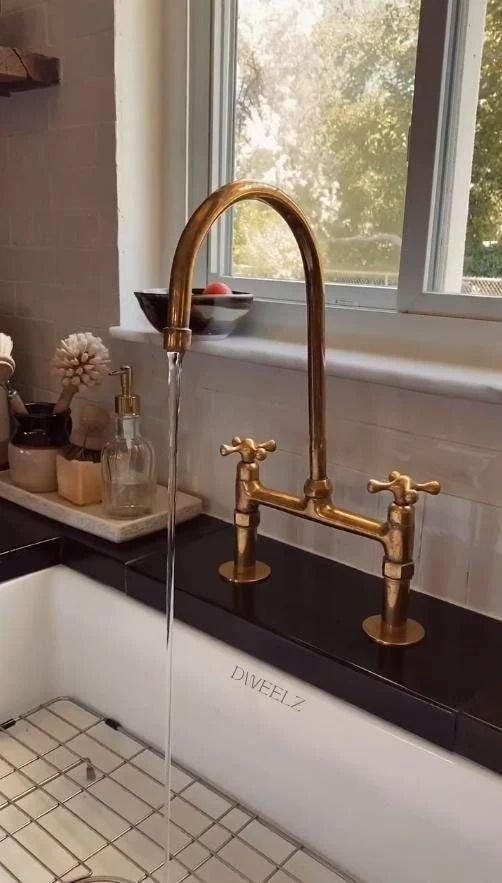
Bridge faucets are a bit of a blend. They usually have two handles connected by a “bridge,” often requiring three holes: two for the handles and one for the spout. These holes are usually the same 1 3/8 inches in diameter, but checking the specific requirements for your chosen faucet is crucial.
Here’s a table summarizing the information about standard kitchen faucet hole sizes:
| Faucet Type | Number of Holes | Hole Diameter | Typical Configuration | Standard Spacing |
|---|---|---|---|---|
| Single-Hole Faucet | 1 | 1 3/8 inches | Single handle or single spout | N/A |
| Two-Hole Faucet | 2 | 1 3/8 inches | Faucet with a separate sprayer | Varies, usually aligned with faucet |
| Three-Hole Faucet | 3 | 1 3/8 inches | Faucet with two handles (hot and cold) | 8 inches spread (center to center) |
| Four-Hole Faucet | 4 | 1 3/8 inches | Faucet, two handles, and an accessory | 8 inches spread (center to center) |
| Bridge Faucet | 3 | 1 3/8 inches | Two handles connected by a bridge, one spout | Varies, typically 8 inches spread |
How to Measure Your Existing Faucet Holes
Alright, let’s start with the basics. Here’s a step-by-step guide to help you measure your existing faucet holes accurately:
Step 1: Gather Your Tools
First things first, make sure you have the right tools on hand. You’ll need:
- A tape measure or a ruler
- A pair of calipers (optional, but they can give a more precise measurement)
- A notepad and pen for jotting down your measurements
- A flashlight (if your sink area isn’t well-lit)
Step 2: Remove the Old Faucet
If you haven’t already, you’ll need to remove the existing faucet. This usually involves:
- Turning off the water supply.
- Disconnecting the water lines from the faucet.
- Unscrewing the mounting nuts that hold the faucet in place.
Once the faucet is out of the way, you’ll have a clear view of the holes.
Step 3: Clean the Area
It’s essential to clean around the holes to remove any gunk or residue. This ensures you get an accurate measurement and also gives you a clean surface to work with.
Step 4: Measure the Diameter of the Holes
Now, it’s time to measure the diameter of the holes. Here’s how:
- Using a Tape Measure or Ruler: Place the end of the tape measure or ruler on one edge of the hole and stretch it across to the opposite edge. Note down the measurement. The standard size you’re looking for is usually 1 3/8 inches, but always measure to confirm.
- Using Calipers: If you have a pair of calipers, place them inside the hole and expand them until they touch the edges. This method can give you a more precise measurement.
Step 5: Measure the Distance Between Holes
If your sink has multiple holes, you need to measure the distance between them. Here’s what to do:
- Center-to-Center Measurement: Measure from the center of one hole to the center of the next hole. This is known as the center-to-center distance.
- For instance, if you have a three-hole configuration, measure from the center of the left hole to the center of the middle hole, and then from the middle hole to the right hole.
- The standard distances are typically 4 inches or 8 inches apart, known as 4-inch or 8-inch spreads.
Step 6: Check the Deck Thickness
Another crucial measurement is the thickness of your sink or countertop, also known as the deck thickness. Some faucets have a maximum deck thickness they can accommodate.
Use your tape measure to measure from the top of the countertop to the bottom. This ensures that your new faucet will fit snugly and securely.
Step 7: Take Notes and Double-Check
Once you have all your measurements, jot them down in your notepad. It’s always a good idea to double-check your measurements to ensure accuracy.
Would love to see the drilling process for the kitchen faucet hole? Here’s a video!
Factors Affecting Faucet Hole Size Choice: What Mistakes to Avoid?
When choosing or selecting a kitchen faucet, you must know the ideal size for your kitchen. For this, you should know the factors that affect hole size. Therefore, here’s a clarification –
Factors Affecting Faucet Hole Size Choice
First of all, learn what affects the hole size choice. So, here are some points –
- Faucet Type: Different faucets require different hole sizes. Know what type you need before making a choice.
- Sink Design: Some sinks have pre-drilled holes. Make sure the faucet matches your sink’s hole configuration.
- Countertop Material: Certain materials might need specific hole sizes. Check compatibility with your countertop.
- Accessory Holes: Plan for additional accessories like soap dispensers or sprayers. Ensure there are enough holes.
- Deck Thickness: Ensure your faucet can accommodate your countertop’s thickness. Some faucets have maximum deck thickness limits.
What Mistakes to Avoid for Kitchen Faucet Hole?
- Always check the manufacturer’s specs for hole size. Don’t assume all faucets fit standard holes.
- Not Measuring Accurately: Use precise tools for measurement. Inaccurate measurements can lead to fitting issues.
- Measure the distance between holes, especially for multi-hole faucets. Incorrect spacing causes installation problems.
- If you need accessories, ensure you have enough holes. Adding holes later can be tricky.
- Not all faucets fit all sinks. Double-check compatibility to avoid installation headaches.
- Check if your faucet can handle your countertop’s thickness. Some faucets have limitations.
Related Articles:
7 Guides of Adapting Faucets to Different Hole Configurations
Got a new faucet but worried about the hole configuration? Don’t fret, we’ll guide you through adapting it seamlessly.
- Use Escutcheons: Cover extra holes with an escutcheon plate if switching to a single-hole faucet. It provides a clean look.
- Hole Covers: Use hole covers for unused holes. They’re inexpensive and easy to install.
- Add Accessories: Fill extra holes with useful accessories like soap dispensers or filtered water taps.
- Check Compatibility: Ensure the new faucet is compatible with your sink’s hole configuration. It saves time and frustration.
- Flexible Faucets: Some faucets come with adjustable base plates. They fit multiple hole configurations, providing versatility.
- Professional Help: When in doubt, consult a professional plumber. They can adapt your faucet to fit perfectly.
- Custom Drilling: Consider custom drilling if needed. It allows you to match the faucet perfectly to your sink’s configuration.
FAQs
Queries in mind about kitchen faucets? Check out this section to get your answer!
A. Can I change from a three-hole to a single-hole faucet?
Yes, you can. Use an escutcheon or cover plate to hide the extra holes, or consult a plumber for custom solutions.
B. What if my hole size is slightly off from the standard?
If the size is close, use a faucet with adjustable fittings. For significant differences, consider custom drilling or a professional plumber’s advice.
C. How do I know if my sink can support a certain faucet type?
Check the sink’s specifications for hole size and spacing. Verify the faucet’s requirements and ensure they match your sink’s design.
Final Word
Understanding kitchen faucet hole sizes is crucial for a smooth installation. Measure accurately and select a faucet that matches your sink’s configuration to avoid issues.
Adapting to various hole setups is manageable with the right tools and techniques. Using escutcheons or custom drilling can easily fit new faucets into your existing holes. It also ensures a hassle-free upgrade or replacement. Go for it and enjoy having the perfect kitchen faucet!