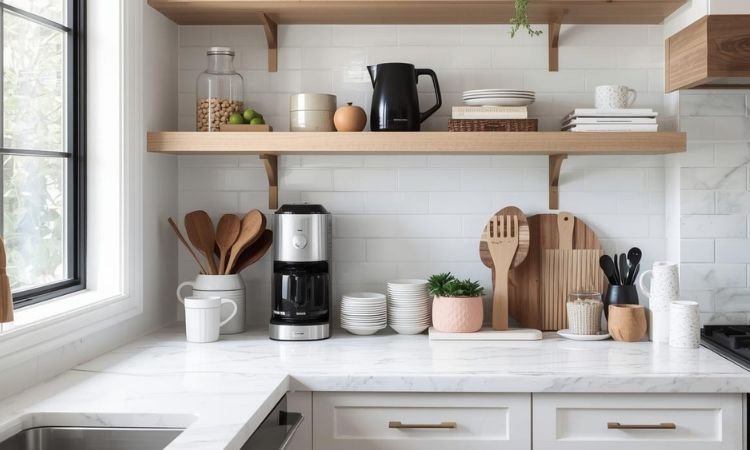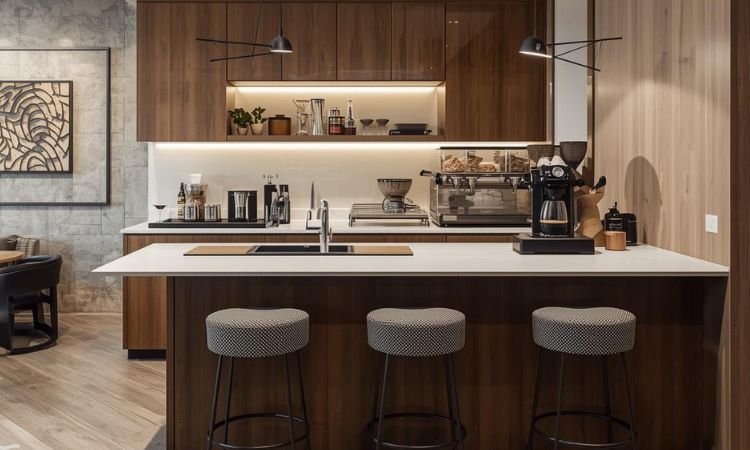
Most coffee lovers don’t need a full café—they need a place to keep their machine, mugs, and beans within arm’s reach without sacrificing kitchen space.
Yet 61% of homeowners say their biggest kitchen frustration is cluttered countertops.
The fix? A dedicated coffee cabinet.
This list covers 11 functional cabinet ideas—from pull-out drawers and appliance garages to repurposed pantries and corner units—that fit standard U.S. kitchen layouts.
Each uses existing cabinetry or minimal footprint additions, with widths as narrow as 12 inches and depths under 18 inches.
Why Cabinet-Based Coffee Stations Make Sense
Space savings: The average kitchen has just 14 linear feet of usable counter space (NKBA, 2024). Tucking coffee gear into cabinets frees up 2–3 feet of that for prep work.
Dust and grease protection: Enclosed storage keeps coffee grounds, oils, and milk residue off open surfaces—critical in kitchens where cooking happens daily.
Noise reduction: Closing a cabinet door muffles grinder or machine sounds, especially helpful in open-plan homes.
Resale value: Integrated coffee zones are now mentioned in 1 in 5 mid-range home listings (Zillow, 2025), signaling buyer demand for practical upgrades over luxury add-ons.
11 Coffee Bar Cabinet Ideas That Work in Real Kitchens
These designs prioritize access, durability, and clean lines—not just looks.
1. Appliance Garage with Lift Door
Convert an upper cabinet (minimum 15″ wide) into an appliance garage using a gas-lift or spring-assist door. The front panel lifts vertically to reveal your espresso machine, grinder, and accessories. When closed, it blends with surrounding cabinetry.
Ensure the cabinet interior is at least 16″ tall to fit most machines. Add a dedicated outlet inside and ventilation gaps at the top and bottom.
2. Pull-Out Drawer Tower
Install a full-height base cabinet (24″ wide) with three stacked pull-out drawers: top for mugs, middle for beans and pods, bottom for backup supplies. Use soft-close glides rated for 100+ lbs.
Standard base cabinets are 34.5″ tall—this setup uses every inch. Include a cutout in the back panel for cord management and a non-slip liner in each drawer.
3. Corner Swing-Out Cabinet
Replace a blind corner cabinet with a swing-out carousel or “magic corner” system. Dedicate one side to coffee: mount the machine on the outer shelf, store mugs on inner tiers. One smooth motion brings everything forward.
Fits standard 36″ corner cabinets. Requires professional installation but eliminates dead space where items get lost.
4. Slim Side-Panel Unit
Build a narrow cabinet (12–15″ wide) beside the fridge or oven using matching materials. Include two shelves: top for the machine, bottom for storage bins. Add a toe-kick base so it aligns with other cabinetry.
This uses “leftover” space often ignored in kitchen plans. Ensure at least 3″ clearance from heat sources like ovens.
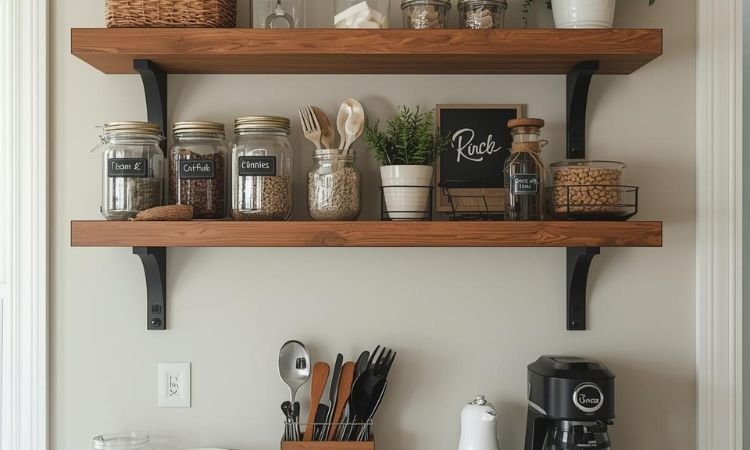
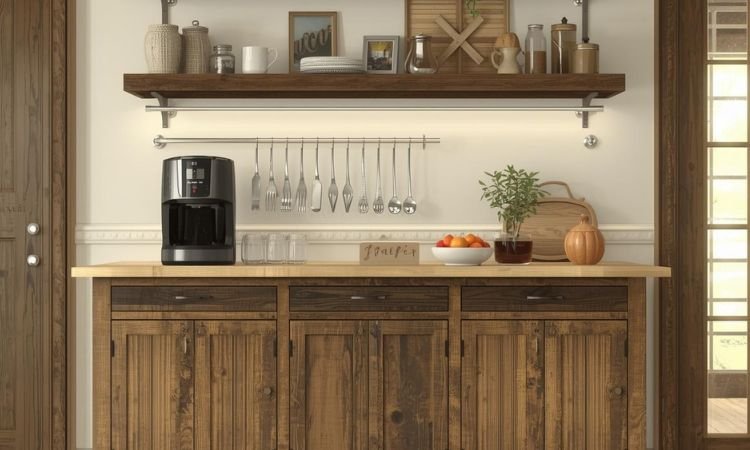
5. Pantry-to-Coffee Conversion
Dedicate one section of a walk-in or reach-in pantry to coffee. Install adjustable shelves, a small outlet strip, and LED puck lights. Keep mugs, beans, and syrups together in labeled bins.
Pantry shelves average 12″ deep—perfect for compact machines. This works well in homes where the pantry is near the kitchen sink or dining area.
6. Flip-Front Base Cabinet
Replace a standard base cabinet door with a horizontal flip-down panel that doubles as a small work surface when open. Store your machine and tools inside on slide-out trays. When closed, it looks like any other cabinet.
The work surface typically extends 10–12″ when open—enough room to pour or tamp. Use a piano hinge for smooth operation and support arms to hold it level.
7. Upper Cabinet with Open Shelf Cutout
Modify an upper cabinet by removing the bottom panel and adding a floating shelf inside. Place your machine on the shelf so it’s partially visible but still enclosed. The rest of the cabinet stores mugs or beans behind doors.
Creates a semi-display look without full exposure. Best for machines under 14″ tall. Add under-cabinet lighting to highlight the zone.
8. Microwave Cavity Repurpose
Remove an undercounter microwave (typically 24″x18″) and convert the cavity into a coffee station. Install a slide-out tray for the machine, add interior lighting, and run a dedicated outlet. Ventilate with a small fan if needed.
Since 44% of households use microwaves fewer than twice a week (Appliance Use Survey, 2025), this swap makes practical sense for many.
9. Tall Narrow Utility Cabinet
Use a 12″-wide, floor-to-ceiling cabinet (like those used for brooms or cleaning supplies) for coffee. Install vertical dividers: top for mugs, middle for machine, bottom for storage. Add a rollout step stool if needed for high shelves.
Tall cabinets are often underutilized. This setup works in galley kitchens or beside breakfast nooks where width is limited.
10. Glass-Front Display Cabinet
Replace solid doors with clear or seeded glass on a 24″-wide upper cabinet. Display your best-looking gear: ceramic grinders, copper kettles, matching mugs. Install interior LED strips to illuminate contents.
Limit displayed items to 5–6 pieces to avoid visual clutter. Store everyday backups in a separate closed cabinet.
11. Under-Stair or Nook Cabinet
If your kitchen connects to a staircase or has an alcove, build a custom cabinet into the recess. Even a 16″-deep space can hold a slim machine, a few mugs, and a small shelf for beans.
This turns awkward architecture into function. Match the cabinet finish to nearby millwork for seamless integration.
Common Mistakes and Fixes
No power source inside
Fix: Run a dedicated circuit or use a hardwired outlet strip inside the cabinet. Never daisy-chain extension cords in enclosed spaces.
Poor ventilation around machines
Fix: Leave 2–3″ of clearance on all sides of espresso or superautomatic machines. Add passive vents or a small fan if fully enclosed.
Overloading with non-essentials
Fix: Store only what you use weekly. Keep seasonal items (like holiday mugs) elsewhere.
Ignoring ergonomics
Fix: Place the machine between 36″–48″ from the floor for easy access. Avoid putting heavy items on high shelves in narrow cabinets.
Final Note
A coffee bar cabinet isn’t about hiding your routine—it’s about making it smoother. By integrating gear into your kitchen’s existing structure, you gain counter space, reduce daily friction, and keep your setup looking tidy.
Which of these 11 cabinet solutions fits your layout? Measure first, then choose the option that matches your workflow—not just your aesthetic.