A hutch offers enclosed and open storage in one unit—ideal for housing coffee gear while keeping counters clear.
Most standard hutches range from 36 to 72 inches wide and 15 to 18 inches deep, fitting neatly against a kitchen wall, dining room corner, or hallway nook without blocking traffic.
These 10 ideas focus on smart internal organization, accessible layouts, and finishes that blend with existing cabinetry—so your coffee station feels integrated, not tacked on.
Why a Hutch Works for Coffee Stations
Combines display and concealment: Open shelves show mugs or decor; doors hide beans, filters, and cords.
Uses vertical space efficiently: Upper cabinets store backups; lower sections hold machines or heavy items.
Fits narrow footprints: At just 15″–18″ deep, a hutch doesn’t encroach on walkways like carts or islands.
No renovation needed: Freestanding or wall-mounted—plug in and go.
10 Coffee Bar Hutch Ideas That Add Function Without Clutter
All concepts assume a standard hutch depth of 15″–18″ and height of 72″–84″. Let’s start.
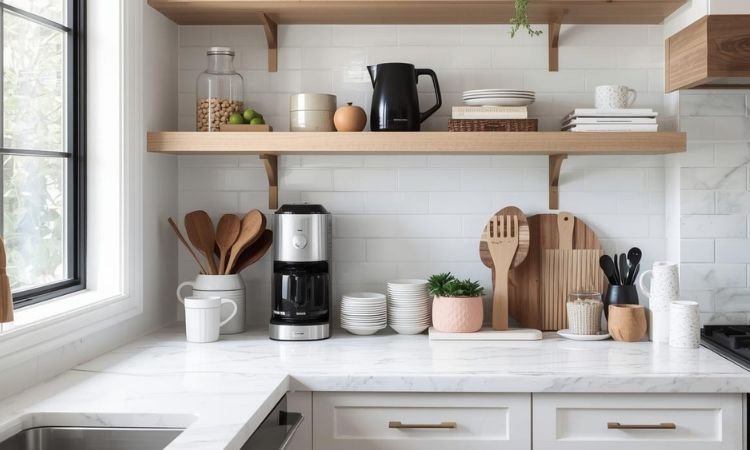
1. Upper Glass Doors, Lower Solid Cabinets
Use glass-front uppers to display matching mugs or ceramic canisters. Keep lower doors solid for storing beans, syrups, and backup pods. This split design balances openness and privacy.
Standard upper cabinet interior: 12″–14″ deep—enough for mugs but not too shallow for stability. Install interior LED strips to highlight contents.
2. Pull-Out Appliance Shelf in Base
Build a slide-out tray in the lower cabinet (minimum 16″ W x 14″ D) to hold your espresso machine or drip brewer. Pull it forward for use, push back when done. Keeps cords hidden and surfaces clear.
Include a dedicated outlet inside the cabinet. Use soft-close glides rated for 75+ lbs to handle machine weight.
3. Integrated Mug Rack on Interior Door
Mount a vertical mug rack on the inside of an upper cabinet door. Holds 4–6 mugs upside down, saving shelf space. Choose metal or wood dowels spaced 3.5″ apart to fit standard handles.
Only works if the cabinet is at least 12″ deep. Keeps daily mugs within reach but out of sight.
4. Adjustable Shelves for Flexible Storage
Use pin-hole adjustable shelves in both upper and lower sections. Rearrange heights as your gear changes—tall for carafes, short for pods. Standard shelf spacing: 8″–10″ for versatility.
Line shelves with non-slip matting. Avoid fixed shelves—they limit adaptability.
5. Side-Mounted Paper Towel or Napkin Holder
Attach a slim metal or wood holder to the hutch’s side panel (facing away from traffic). Holds paper towels, cloth napkins, or cleaning wipes within arm’s reach.
Mount between 36″–48″ high for easy access. Keeps cleanup supplies handy without cluttering the main surface.
6. Under-Hutch Task Lighting
Install LED strip lighting under the upper cabinet overhang to illuminate the countertop or pull-out tray below. Use warm white (2700K–3000K) for a welcoming glow.
Hardwire or plug-in both work. Provides focused light for early mornings without overhead glare.
7. Dedicated Drawer for Pods and Filters
Add a shallow drawer (4″–5″ tall) in the base section for K-Cups, Nespresso capsules, or paper filters. Use divided inserts to keep types sorted.
Standard drawer width: 18″–24″—fits most hutch bases. Label sections to avoid morning confusion.
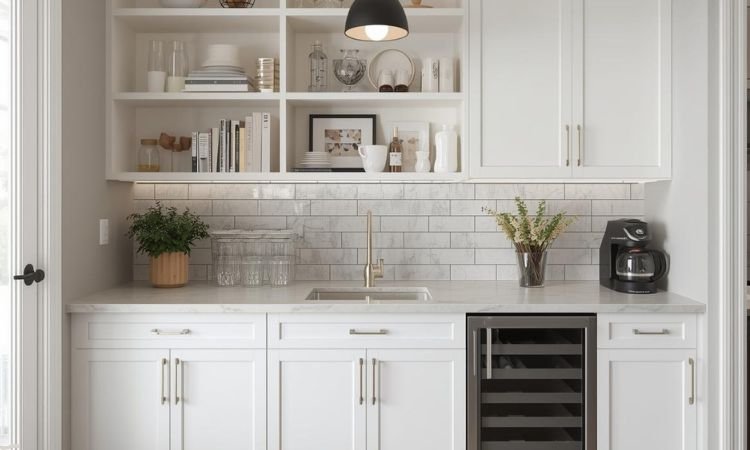
8. Matching Finish with Kitchen Cabinetry
Paint or stain the hutch to match your kitchen cabinets. This makes it feel built-in, not like an afterthought. Even a freestanding piece reads as intentional when finishes align.
If your kitchen is matte white, choose a hutch in the same sheen. Consistency reduces visual noise.
9. Open Lower Shelf for Frequently Used Items
Leave the bottom 12″–15″ of the hutch open (no doors) for a small basket, spare mugs, or a kettle. Easy to access without opening doors.
Place a non-slip mat on the shelf. Best for items used multiple times a day—keeps the workflow smooth.
10. Cord Management System Inside Cabinet
Run appliance cords through grommet holes in the back panel into a power strip mounted inside. Keeps outlets hidden and prevents tripping.
Use adhesive clips to secure cords along the cabinet wall. Ensure the power strip is surge-protected and not overloaded.
Common Mistakes and Fixes
Overloading open shelves
Fix: Display only 3–5 items. Too many mugs or jars look messy. Store extras behind doors.
Ignoring appliance clearance
Fix: Leave 2″–3″ of space around machines for ventilation. Don’t fully enclose hot-running units.
Poor lighting inside cabinets
Fix: Add battery-powered puck lights if hardwiring isn’t possible. Motion-sensor models turn on when you open the door.
Mismatched scale
Fix: In a small kitchen, choose a hutch under 48″ wide. Oversized units dominate tight spaces.
Final Note
A coffee bar hutch works best when it serves your routine—not just your aesthetic. Prioritize easy access, smart storage, and a finish that blends in. You don’t need glass doors or ornate trim—just a place to keep your gear organized and out of the way.
Which of these 10 ideas fits your space? Measure your wall first—most hutches work in areas as narrow as 36 inches wide.